A lot of people have been asking about this… so here it is. A lowdown on my #homewall build. Firstly… I built this back in 2015 and it is still solid, it was a bit of a ’just have a go’ type project and although I had a rough plan, I kind of made it up as I went along! If I did it again I would probably do it a bit differently but like all DIY projects, you learn so much from the process. Hopefully this will give you a few ideas for your own #homewall builds.

*Firstly I need to point out that I am not a qualified engineer. Neither am I an experienced climbing wall builder. If you are concerned about forces, strengths etc. then you best seek professional advice.
From the little understanding and knowledge I did have, I aired on the side of over engineering. Equally as I own the house, I didn’t have to seek permission before I started drilling the walls (but I did ask the wife) If you rent a property, its best you investigate self supporting, free standing options.
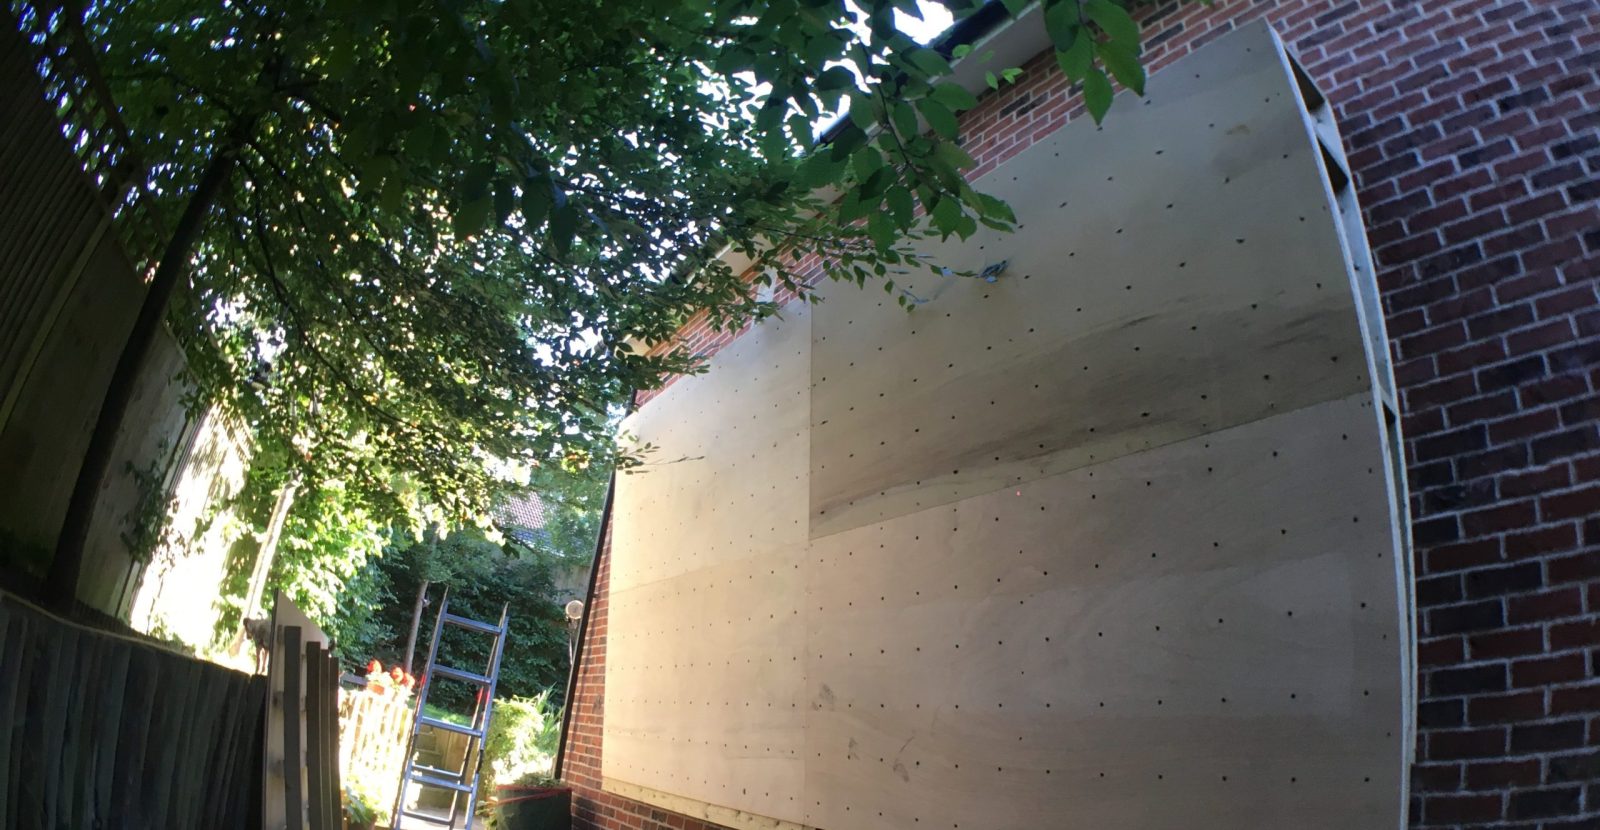
My intention was to build a circuit board for training endurance & power endurance. The Wall was modelled roughly on the circuit boards at Reading climbing centre. The dimensions are 16ft x 10ft and it overhangs by about 15°. There is a small 2ft x 16ft vertical kick board along the bottom of the wall, which was a bit of an after thought.

The main sub structure is based on 5 sub frames that are attached directly to the wall. These were constructed out of 8ft, 4’ x 2’ external grade, treated timbers. Initially I built these on the ground, then realised that I couldn’t attach them with the front price on so I had to then take them apart, attach the vertical beams, then screw the angled section with the supporting braces (noggins) in place. Because of this, I also then used metal joining strips on all the joins (belt and braces approach).

The sub-frames were spaced at 2ft intervals across the wall with heavy duty M8 wall fixings. I tried to where possible drill into the mortar rather than the brick. The sub frames were offered up to the wall, pilot holes drilled, then taken down to place the metal wall plugs for the wall fixings into the brick mortar. This seemed to work, but as I said I’m not an engineer so can’t comment as to whether this was the correct thing to do… but it’s still standing 5yrs later and there is no cracks in the brickwork. (awaiting comment from all the engineers out there!) I then screwed a few cross beams between these frames.

The ply is 18mm marine grade. The holes are 8’ apart in a standard climbing wall grid pattern, starting 4’ from the edge of the boards, to maintain the pattern when you joining panels together. The t-nuts are the screw in kind from CORE climbing. I drilled 13mm holes then dropped the t-nuts in. This was the most time consuming part. I chose not to t-nut the kick board, on the basis that I would use screw on holds for this section. I decided to put anchors on the wall for 2 reasons. Firstly for the kids, and secondly so that I could practice rope work skills & technique . The anchors are bolted through the sub structure onto 5mm metal brackets.

The wall was painted with Wickes own brand external wood paint (other brands are available) and have since given it a few more coats. I also put a roof on it to keep the rain of. The wall is relatively sheltered and stays pretty dry, even in heavy rain. Oh and for bit of fun.. I also put some led lights in the top!
If you have any specific questions I’m happy to answer them if I can … but like I said, this was my own exploratory project, on my own wall so if its technical questions, seek out a professional!
Good luck and Enjoy!
Blog & photos by Andy Fleming, RCC Operations Manager, Coach and resident photographer